Cultivating a family tree
An important part of making a Family History photo album is creating your family tree. Ancestral charts or family trees can come in many shapes and sizes, typically displaying the oldest generations at the top and the newer generations at the bottom. While the Momento software doesn’t have a family tree embellishment pack, it’s quite easy to make your own once you start thinking creatively! This post will focus on the tree shaped chart in a step by step tutorial.
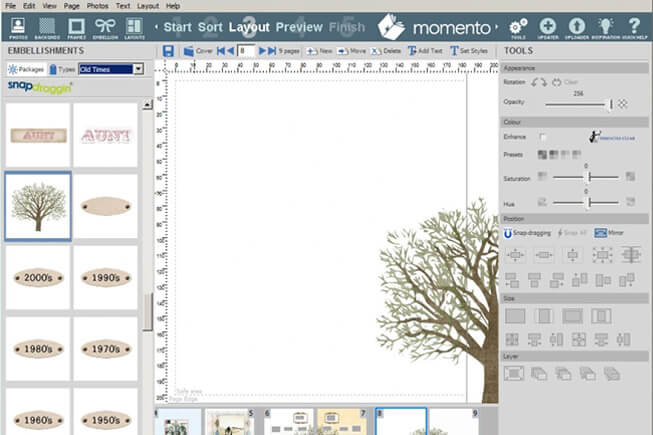
Open up a brand new book and preview in two-page view. Take the tree embellishment from the Old Times embellishment pack and drop the trunk into the center of your book, pulling it out far enough to be visible on both the right & left-hand pages.
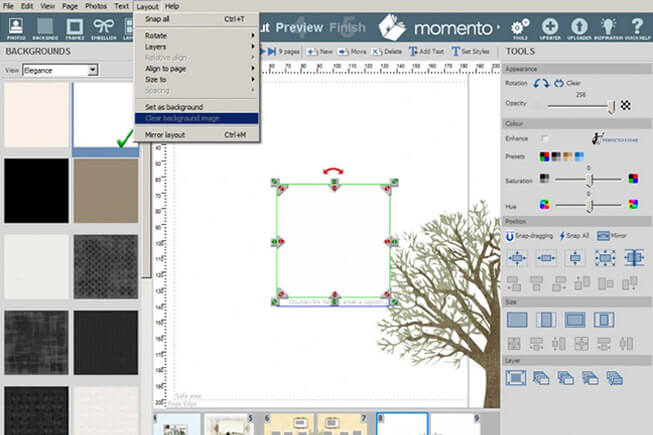
At the moment the background is white, but later on I will change this. Therefore, I need to create a distinct difference between the background and the box that will frame the names. To do this, take the white background from the Elegance pack and place it onto your page. With the background selected, drag and drop a frame of your choice on top. This one is from the Travel embellishment pack.
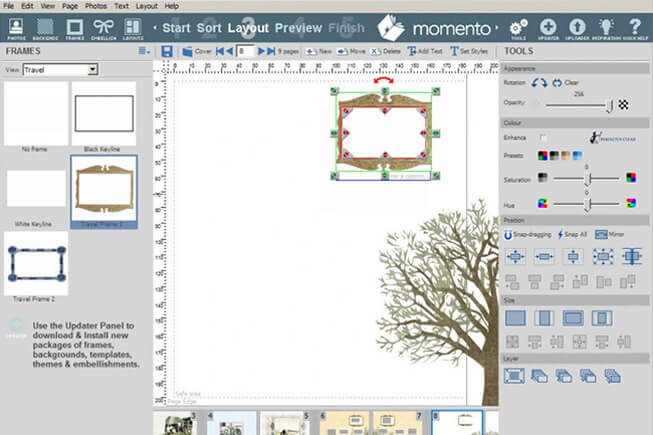
With the framed background selected, go to the top drop down menu Layout and click Clear background image. This will now make the white framed box behave like a photo and you can re-size and re-position it at the top of your tree.
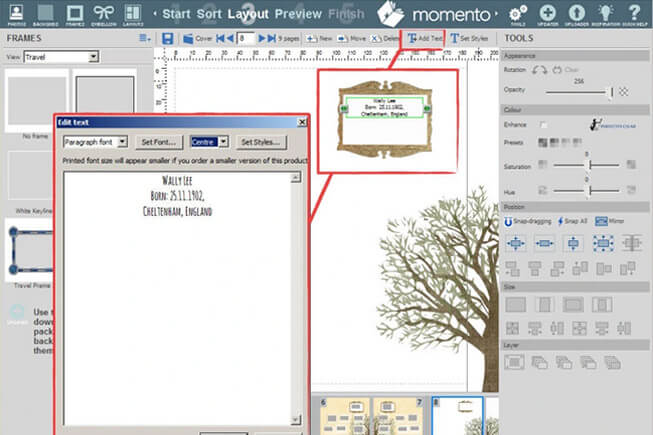
At the top of my tree is the name, date and place of birth of my oldest relative. To enter these details, I made a text box using the text tool and positioned it over my framed white box.
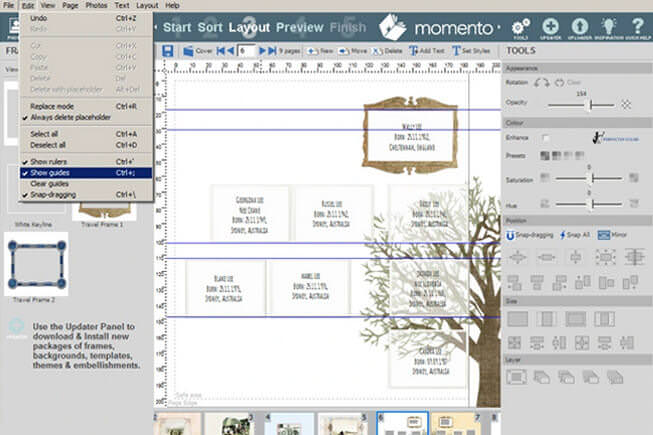
To create the boxes for my other relatives I followed the same process in Steps 2, 3, 4, however I decided to change the opacity of the boxes so I can see my beautiful tree behind them. It’s up to you how big your boxes are, and it will depend on how many relatives you have and the shape of your book. I recommend landscape it for big families.
Remember that you can use the blue guides to help you line up the boxes across your spread. To do this, click on the Edit drop down menu, and then click Show rulers and then again click Show guides. To create movable guides, click on the ruler at the edge of your page and drag the blue line across or down, and then drop it where you want. The guides will NOT print out when you export your book.
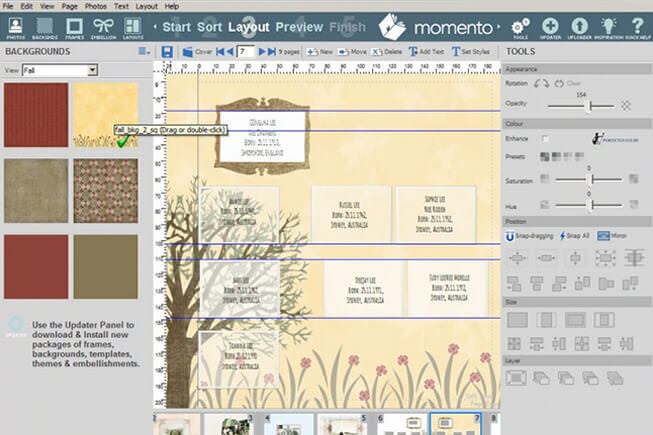
Choose a background that goes with the design of your book. Some family trees have different coloured pages to indicate different sides of the family, however for this book I have chosen a yellow background with a flower pattern at the bottom from the Fall embellishment pack. I have used the opacity slider to fade the colour.