How to export and proof a project
When you’ve finished designing your project there’s a few more important steps to complete before placing your order. This includes exporting, reviewing and uploading your file to your online account.
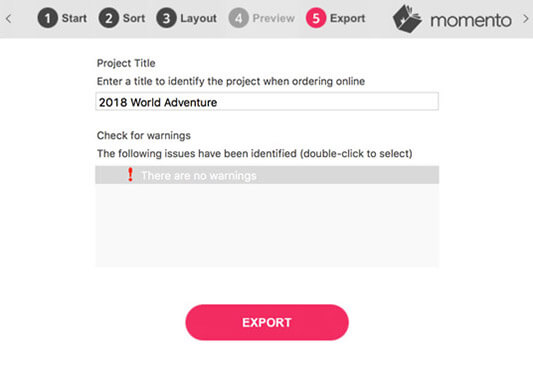
To move from Layout View to Export View click the Export tab at the top of the screen.

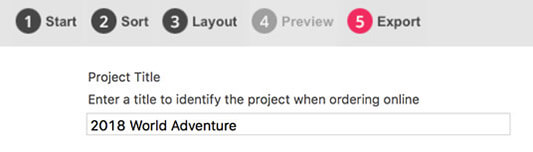
In Export View you will be prompted to enter a project title. This is the name that will appear with the file in your Projects list after you upload it to Momento’s website, ready to place an order.
If there are any issues with your file a Warning message will be triggered. Click the right arrow beside a warning message to view all instances of the issue. Double-click a Warning message to jump to the location in your file where the issue exists. We strongly recommend you fix all issues before clicking the Export button otherwise your file will print with the issues included. See the warning messages and their solution below.
MORE
Cover background colour is white
Set the cover background colour in Cover View. If you want a white background ignore this message.
Spine text not set
Add text to the spine of a printed cover or dust-jacket in Cover View. If you don’t want to order a printed cover or dust-jacket, or you don't want any spine text to appear, ignore this warning.
Blank pages
Remove any unnecessary empty pages, unless you intentionally want to include them.
Quality warning
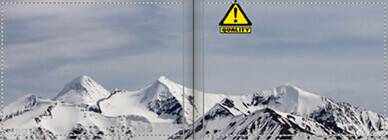
This means you have scaled up an image beyond the size that will allow it to appear crisp when printed. The image does not have enough resolution to print at the size you have set for your book, and it will print with pixelation. This warning is more common in Grand size books where images fill a single or double page. Use the green arrows to shrink and resize the photo until the warning icon disappears. Alternatively, if you have a larger original photo, you could use that instead.
Edge warning
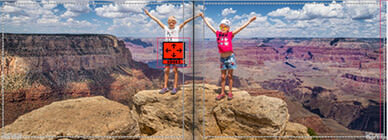
This appears when a photo is positioned between the page’s Safe Area and the edge of the page. If you don’t address this issue you may end up having unwanted strips of white at the edge of the page.
If you want the photo to fill the whole page or reach right to the edge, move it so the edge of the photo hangs off the page, or use the Fill or Fit page tools to automatically align the photo to the page edge. If however you do want a white page border, drag the photo so it is positioned within the dotted Safe Area line.
Be aware that we bind your books using manual processes and the trimming of pages is accurate to ±1mm, so don’t include important content outside the Safe Area.
Not enough pages
This indicates that you have less than 10 pages in your book. We require a minimum of 10 pages to bind a book so if you only have four pages in your book design it will be printed with 6 blank pages. Add more pages via the Add Pages tool.
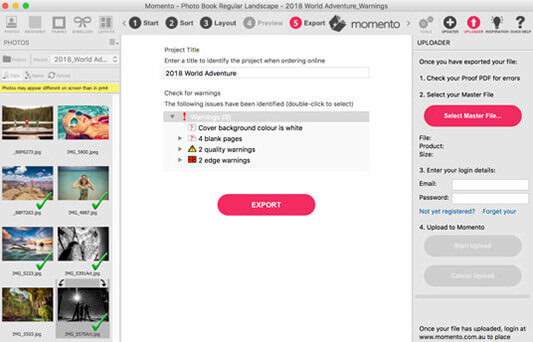
Only after you have entered a project title and addressed all the Warning Messages, click the Export button to start the process that will create a file for you to review and one to send to print.
The Export window will open so you can monitor the progress of the process. Exporting can take a while to complete depending on the size of your book, the number of pages and the size of the image files you’ve been working with.

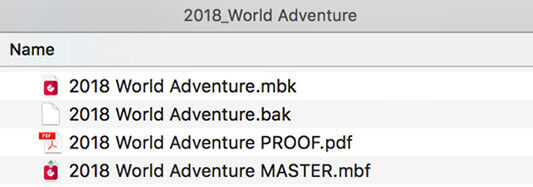
The export process produces two files that are saved in the same folder as your .mbk file:
- a PROOF.pdf for you to review
- a MASTER.mbf for you to upload to Momento for printing
This is one of the most important steps when creating a photo book. The PROOF.pdf is identical to the file we will print from, except it includes a subtle watermark in the background. Even if you have previewed your design in the software, it is vital that you review your PROOF.pdf thoroughly to ensure that everything matches the software and looks as you want it to appear in the printed product.
MORE
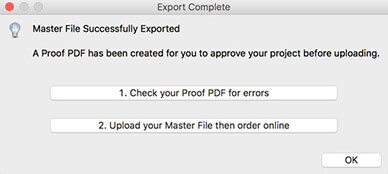
To open, click the Check your Proof PDF button in the Export Complete window or double click the PROOF.pdf in the same folder where your .MBK is located. The PROOF.pdf will open in Adobe Acrobat Reader.
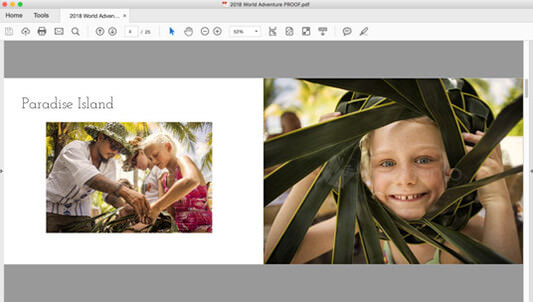
Scroll through the cover and every page of your book to check for alignment issues, spelling mistakes, font errors, blurry images, colour problems, broken spans or missing photos. You could even get someone with fresh eyes to take a look as they might see things you don’t.
If you make changes to your file to fix the layout, export the file again to also remove the issues from the MASTER.mbf file that you will upload for ordering and printing.
After exporting and proofreading your project file, you are ready to upload your MASTER.mbf file and order online.
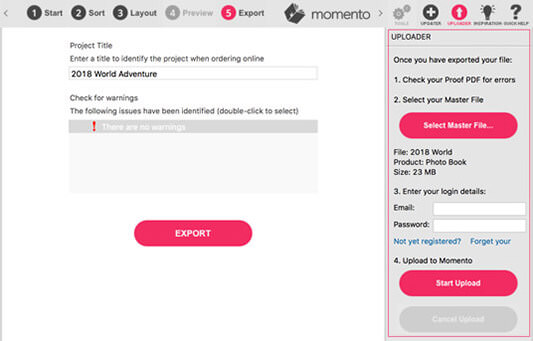
Photo Credits: Katherine Williams