Questions?
We're as passionate about preserving your photo memories as you are, so don't hesitate to get in touch with our friendly service team by email, phone or our call back service. Happy designing!
Contact us
| 1. DOWNLOAD SOFTWARE | 2. MAKE BOOK | 3. EXPORT & CHECK FILE | 4. UPLOAD & ORDER ONLINE | 5. ENJOY BOOK |
No need to be a pro-designer or computer whiz to layout a stylish photo book design, as Momento's free software makes it fast and easy for anyone.
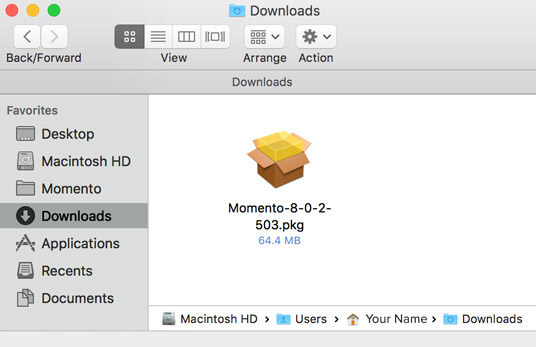
First step, download Momento's free desktop photo book software. Then run the installer and follow the prompts to get set up so you're ready to roll.
How to Install software
.jpg)
The software steps you through five different views to layout and edit your design.
Start: Begin by selecting a product, its size and shape
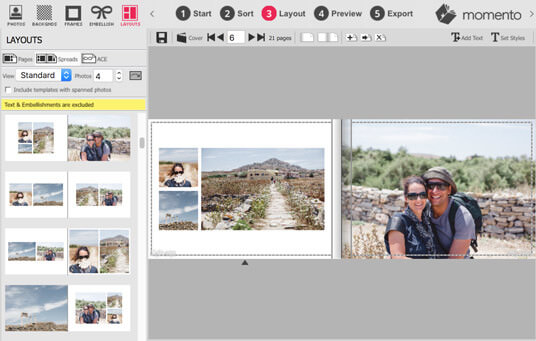
Sort: A list view to sequence photos and pages quickly
Layout: A canvas for arranging photos, pages and text
Preview: A full screen, double page view of your design
Export: Produces files for proofing and printing
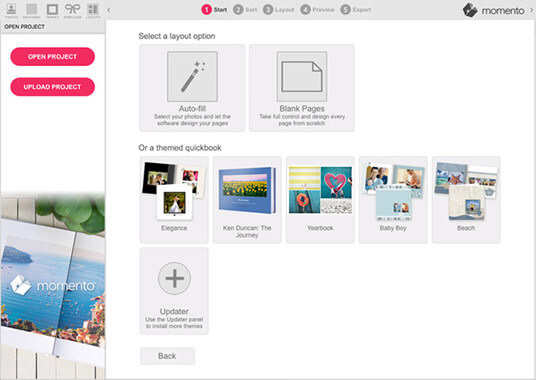
Start by choosing the layout option that works best for you. If you're stuck for time choose Auto-Fill or a Themed Quickbook. For more creative control, select Blank Pages and craft your masterpiece from scratch.
How to Start A Book
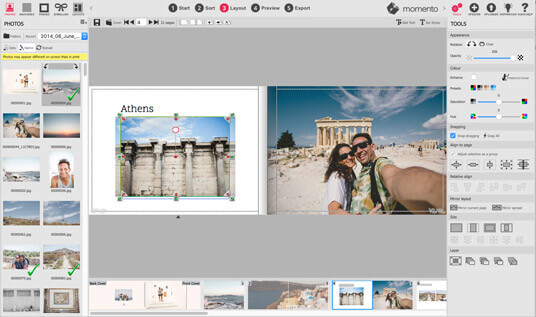
The left panels hold content you can add to your design. The right panels hold the tools for controlling the content's appearance and position, as well as the Updater panel for accessing more graphics, and the Uploader for sending us your finisehd file.
How to navigate software
This is where all the fun happens. Drag-and-drop your photos onto the blank canvas or into hundreds of stylish template designs, then fine tune their size and position using the easy automated and manual tools. Click below to see a demonstration of how to master the Layout View tools.
How to use Layout View
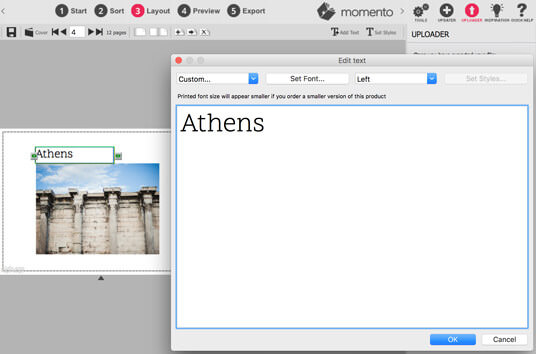
Text gives photos context and adds extra meaning to your book. Click the Add Text button to enter headings, paragraphs or captions, then set the most suitable font, size, colour and alignment for your design.
How to add text
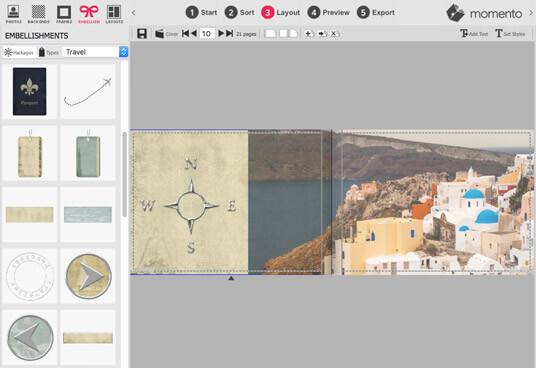
To decorate your pages even further, you can download an extensive library of readymade artwork via the Updater Panel. These graphics are perfect for books about babys, holidays, birthdays, Christmas and more.
How to Embellish
.jpg)
Complete your masterpiece with a cover that grabs attention and reflects the story inside. The far left thumbnail gives you access to Cover View where you can also enter spine text and choose a background colour. Any cover design your create can also be printed on the cover of a clamshell box too.
Design a cover & box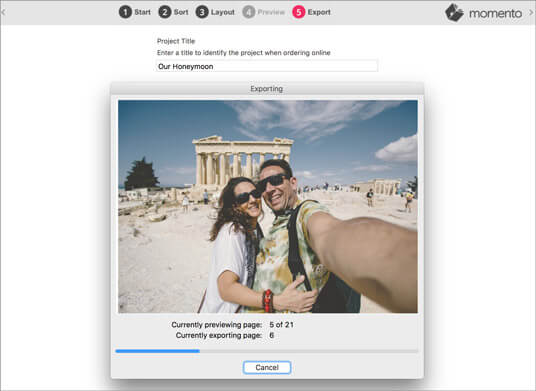
After designing there's a few more important things to do in Export View . Fix any issues the software lists in the Warning Panel, then when everything's perfect, click the Export button to generate one file for proofing and another for uploading and ordering.
How to Export a book
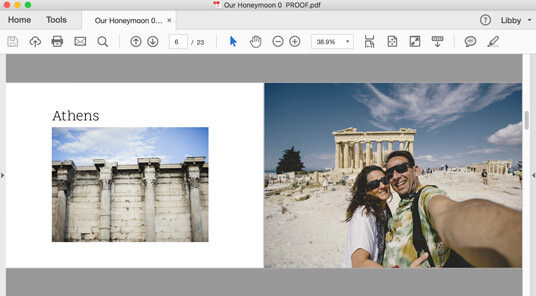
This step is crucial to preparing your file for print. When the export process is complete, the software prompts you to open a PROOF.pdf file. Carefully look through each page and cover to ensure everything is correct. If not, go back to Layout View, edit then re-export the file.
How to proof a book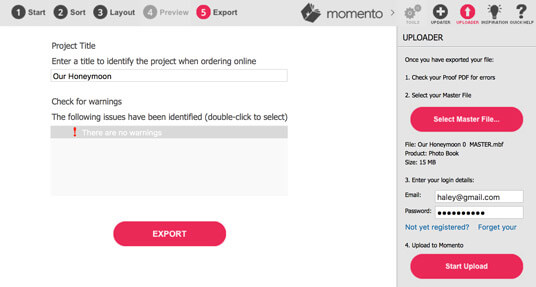
Once you're 100% certain your file is ready for print, and you've registered with us, use the Upload panel on the right or login to your account online, to select and upload the MASTER.MBF file. Afterwards, your project will appear in the Projects list ready to order.
How to Upload a book
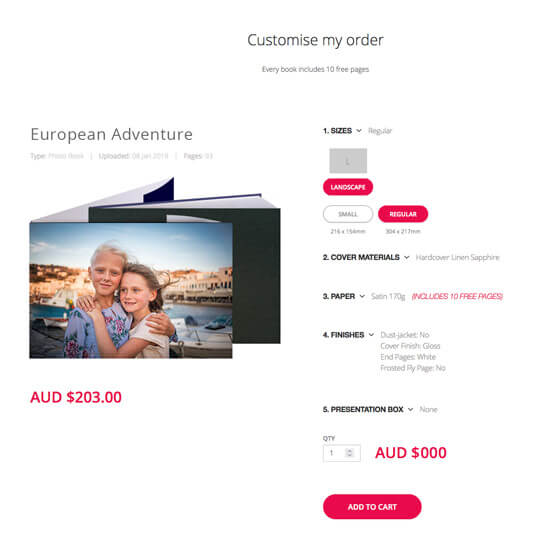
Find your book in your Projects list and click the Order button. This is where you select the quantity, size, paper, cover and optional finishing options including a dust-jacket or presentation box.
Any combination of our nine sizes, four premium papers and various finishes will do your photos justice. Choose a printed cover to show off your best shot or opt for linen or leather so your book feels as good as it looks. Our hot tip: Lay-flat Lustre paper allows your photos to sit seamlessly flat across two pages.
See photo book range.jpg)
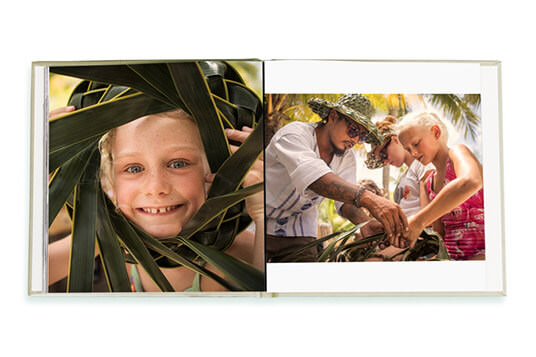
After you've placed your order, we promise to produce your book with worldclass 6-colour printing and stitch binding, so you can enjoy your memories for decades to come.
See Inspiration gallery
To learn how to layout a timeless photo book design read our handy guide.
How to design a book
We're as passionate about preserving your photo memories as you are, so don't hesitate to get in touch with our friendly service team by email, phone or our call back service. Happy designing!
Contact us
Photo Credits: The Beautiful Collective, Katherine Williams,