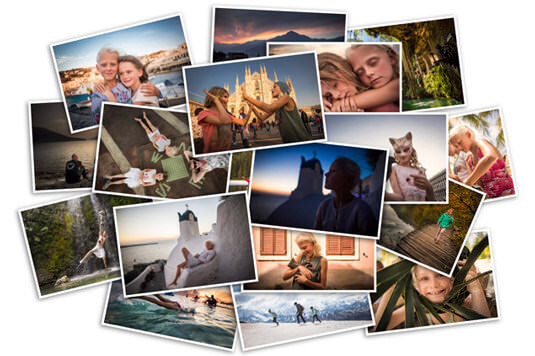
Photo Management Basics
with The Filing Fairies
Professional photo managers, The Filing Fairies, offer expert advice on how to organise huge photo libraries and tips for preparing photo files for easy photo book creation.
Disclaimer: The Filing Fairies and/or Momento Photo Books are not liable for any actions taken by viewers as a result of the general advice provided here. Be aware that information included here may become out-of-date after publication.
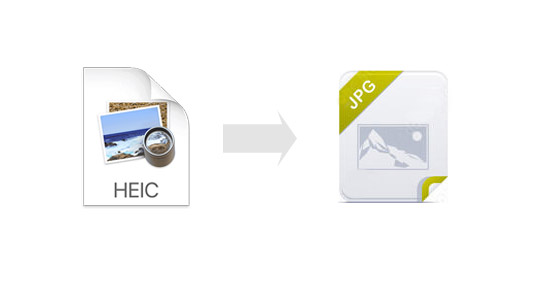
Some mobile devices use HEIC format for photo files. Prior to our software supporting HEIC files, convert them to JPEG:
Mac: Drag files into the Apple Photos folder. Go to File menu > Export and Save As JPEG.
PC: Use the free CopyTrans software.
There's no need to resize photos to use them in the software, as a Quality Warning is displayed when a photo that is too small to print is identified.
But be aware: it's best to keep files <5MB; files with too many pixels may slow things down; and full page photo dimensions are 3500 x 2500 pixels (Regular) and 5000 x 3500 pixels (Grand).
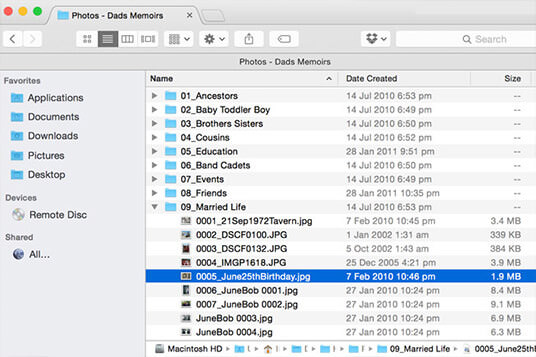
For most projects you can leave your photo files in their existing folders. For large projects or projects where you’re using files from lots of different folders, it can be easier to create a dedicated folder for your project that you can copy all the photos into so you’re only dealing with a single folder. For extra large projects, such as family histories, you can create subfolders to group photos together by date, event or person. For optimal software performance, limit your folder to 300 files.
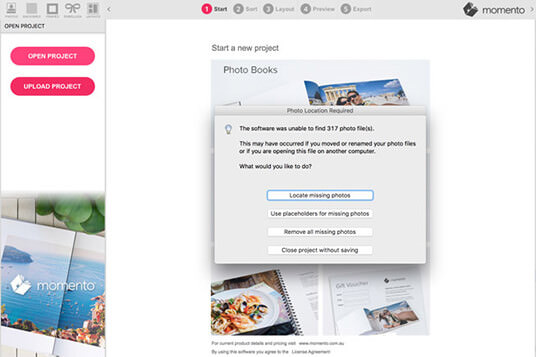
If you change the name or location of a photo file after you’ve inserted it in a project, its link with the software will be broken. The software will activate a pop up window with options to remove or locate missing photos, to insert placeholders, or to close the file. To locate missing photos navigate to the folder where they are now saved. You only need to find one image for each folder that you have moved, then the software will automatically locate the rest.
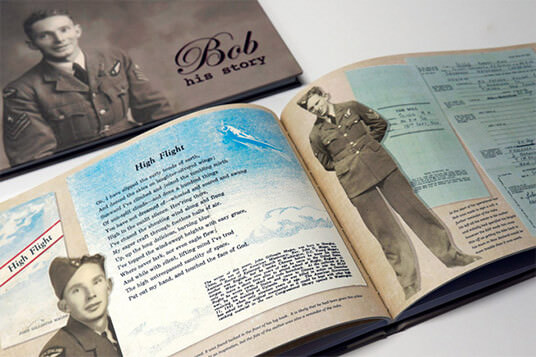
Travel photo books can be enhanced by adding maps, tickets and postcards, while family history books often include birth certificates, newspaper clippings and other paraphenalia. If you want an image to sit on top of another image without a white box surrounding it, save it as a PNG file with transparency enabled. This will save the file with a transparent background. We also have hundreds of readymade graphics that you can add to the software via the Updater Panel.
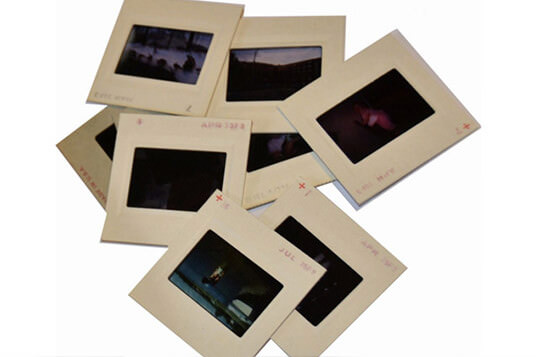
To add printed photographs, negatives, slides or other physical objects into a project you’ll need to digitise them first. Depending on the quality of the print results you’re after, you can simply photograph them but for best results we recommend you scan them. You can save a lot of time by paying an expert to scan them for you. They generally charge per photo and include basic image correction and dust removal in the price.
If you scan them yourself, here’s our recommended settings and workflow:
- Dots per inch: DPI determines how big you will be able to enlarge the scanned image on a page.
- Scan at 300 dpi if you plan to print the image at its original size
- Scan at 600 dpi if you plan to print the image at twice its original size
- Scan at 900 dpi if you want to print the image at 3 timesits size, etc
- Scan slides at 1200 dpi to be able to print them at about the size of a 6x4" photo and at 2400 dpi to fill an A4 page
- Unless a photo is very small, it’s usually not necessary to scan at resolutions as high as 1200, as it will make an unnecessarily large file and may slow down the layout process
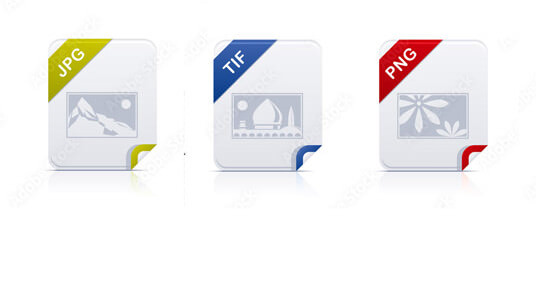
- File format: Save as JPG or TIFF with a minimum quality setting of 80%
For best results, let the scanner create a preview scan of the photo so it can analyse the image and make automatic adjustments to get the best of the available colour and light from each image
When scanning old photos, gently wipe each print before scanning to reduce dust. Remember to wipe your scanner’s glass regularly too.
If you don’t have a scanner, try photographing the objects, ensuring they are as flat as possible. Sticking them to a wall can also help.

If you want to include a lot of text in your project it’s best to type it out in a word processing program like Microsoft Word. We recommend Notepad for Windows or Simple Text for Mac users as they create the cleanest text for copying into our software. It's also wise to spellcheck your text before copying and pasting it into Momento.
How to add text
We strongly encourage you to set up a simple monthly photo review and back up system to keep your photo files in order and ready for easy photo book creation. See our handy photo filing guide to take control of your collection.
How to manage photos
Photo Credits: The Beautiful Collective, John Sligo, Katherine Williams